Springing Into DIYS
This is the last month of the school year and we’re in full on spring going into summer so why not do one last round DIY to kick off the summer.
Anything marked with a * has an image to go with it for further clarification.
Origami Butterflies:
This DIY is something cute that you can use to decorate some of your things.
Materials: One square piece of paper.
- Starting with the colored side up fold the paper in half both ways and then flip over
- Fold diagonally both ways
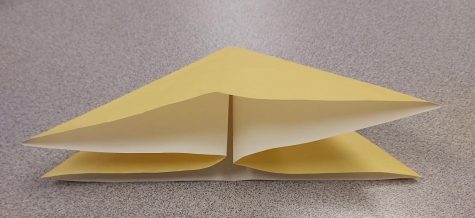
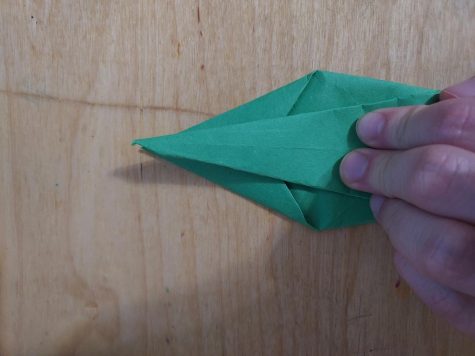
- Pull in the left and right side along the creases to create a triangle shape*
- Take the sides of the top triangle and fold to the tip creating a diamond shape
- Flip the triangle over and turn so that the tip of the triangle is at the bottom
- Fold the tip of the top triangle past the edge
- Fold the part of the tip thats sticking out and flip over
- Fold along the center
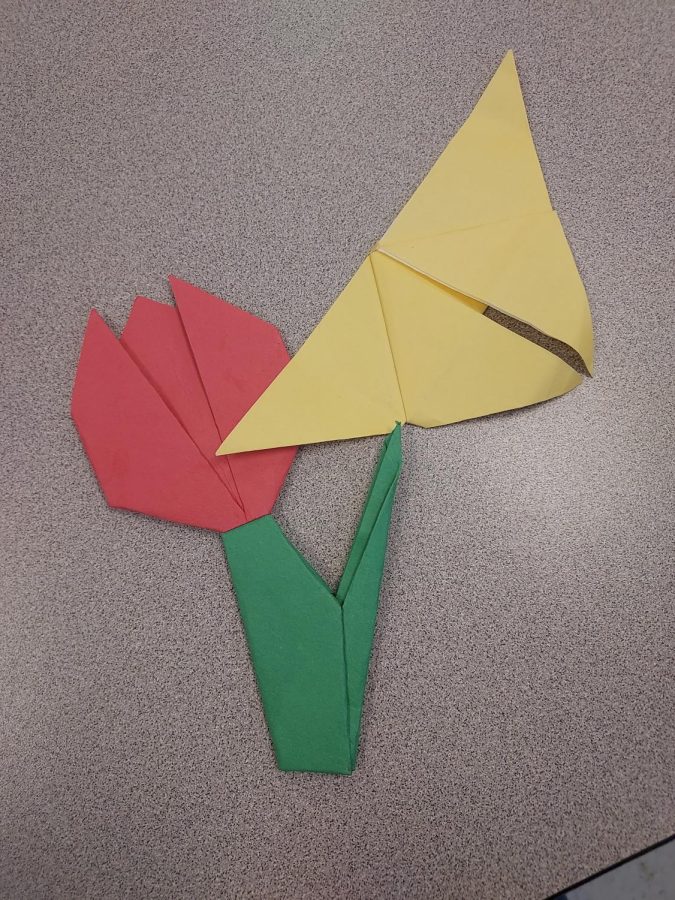
Origami Flower Bookmark
This DIY makes a bookmark that you can use instead of dog earing a book page. Or as a replacement for your old bookmark.
Materials: One small square piece of paper for the blossom, one larger square piece of paper for the stem, glue (optional)
You’ll start by making the blossom first with the smaller piece of paper.
- Fold the paper, colored side up, diagonally, unfold, and then fold again the other way to end up with a triangle
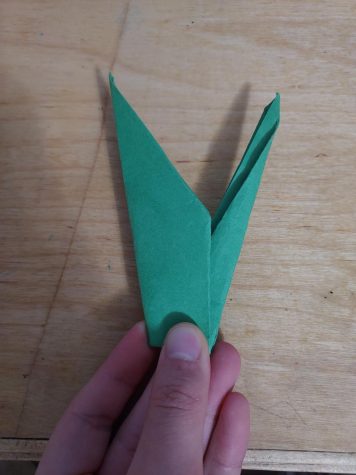
- With the tip of the triangle at the top take one of the corners and fold up at an angle, repeat with the other side*
- Flip the blossom over and fold the side corners in
Next is the stem of the flower with your other piece of paper. The stem is a bit more advanced so feel free to stop at the blossom.
- Fold the paper diagonally both ways and unfold to create lines in the middle
- With the paper at a diagonal fold the left and right corner to the middle line
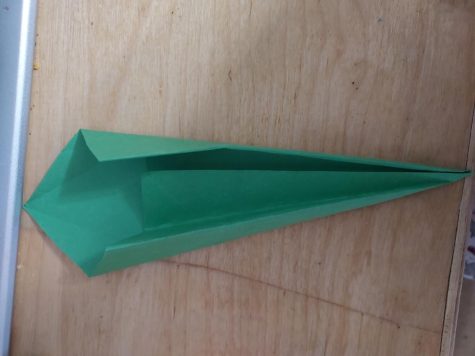
- Take the two new corners that are on the left and right sides and also fold those into the middle*
- Then take the new corners formed from that again and fold to the middle but this time fold the top part in*
- Fold the stem in half with the smaller tip on the inside*
- Fold the stem in half again but the opposite way
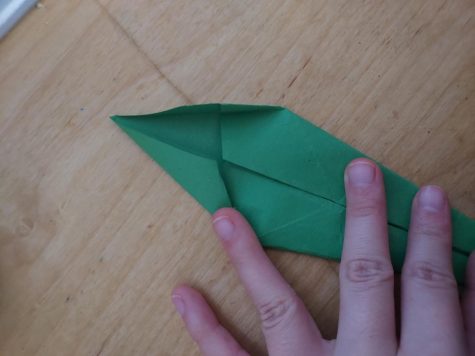
- Take the smaller part of the stem and pull it out*
Glue down any parts you feel the need to and then begin assembling the blossom and stem.
- Cut a small hole into the bottom of the blossom and widen it a bit with your fingers
- Stick the tip of the stem into the bottom of the blossom.
- Press and hold until the glue is dry.


Hi I'm Veronica and I'm a senior this year. Outside of newspaper I'm part of the color guard team and Vice President of MCL. I joined newspaper because...